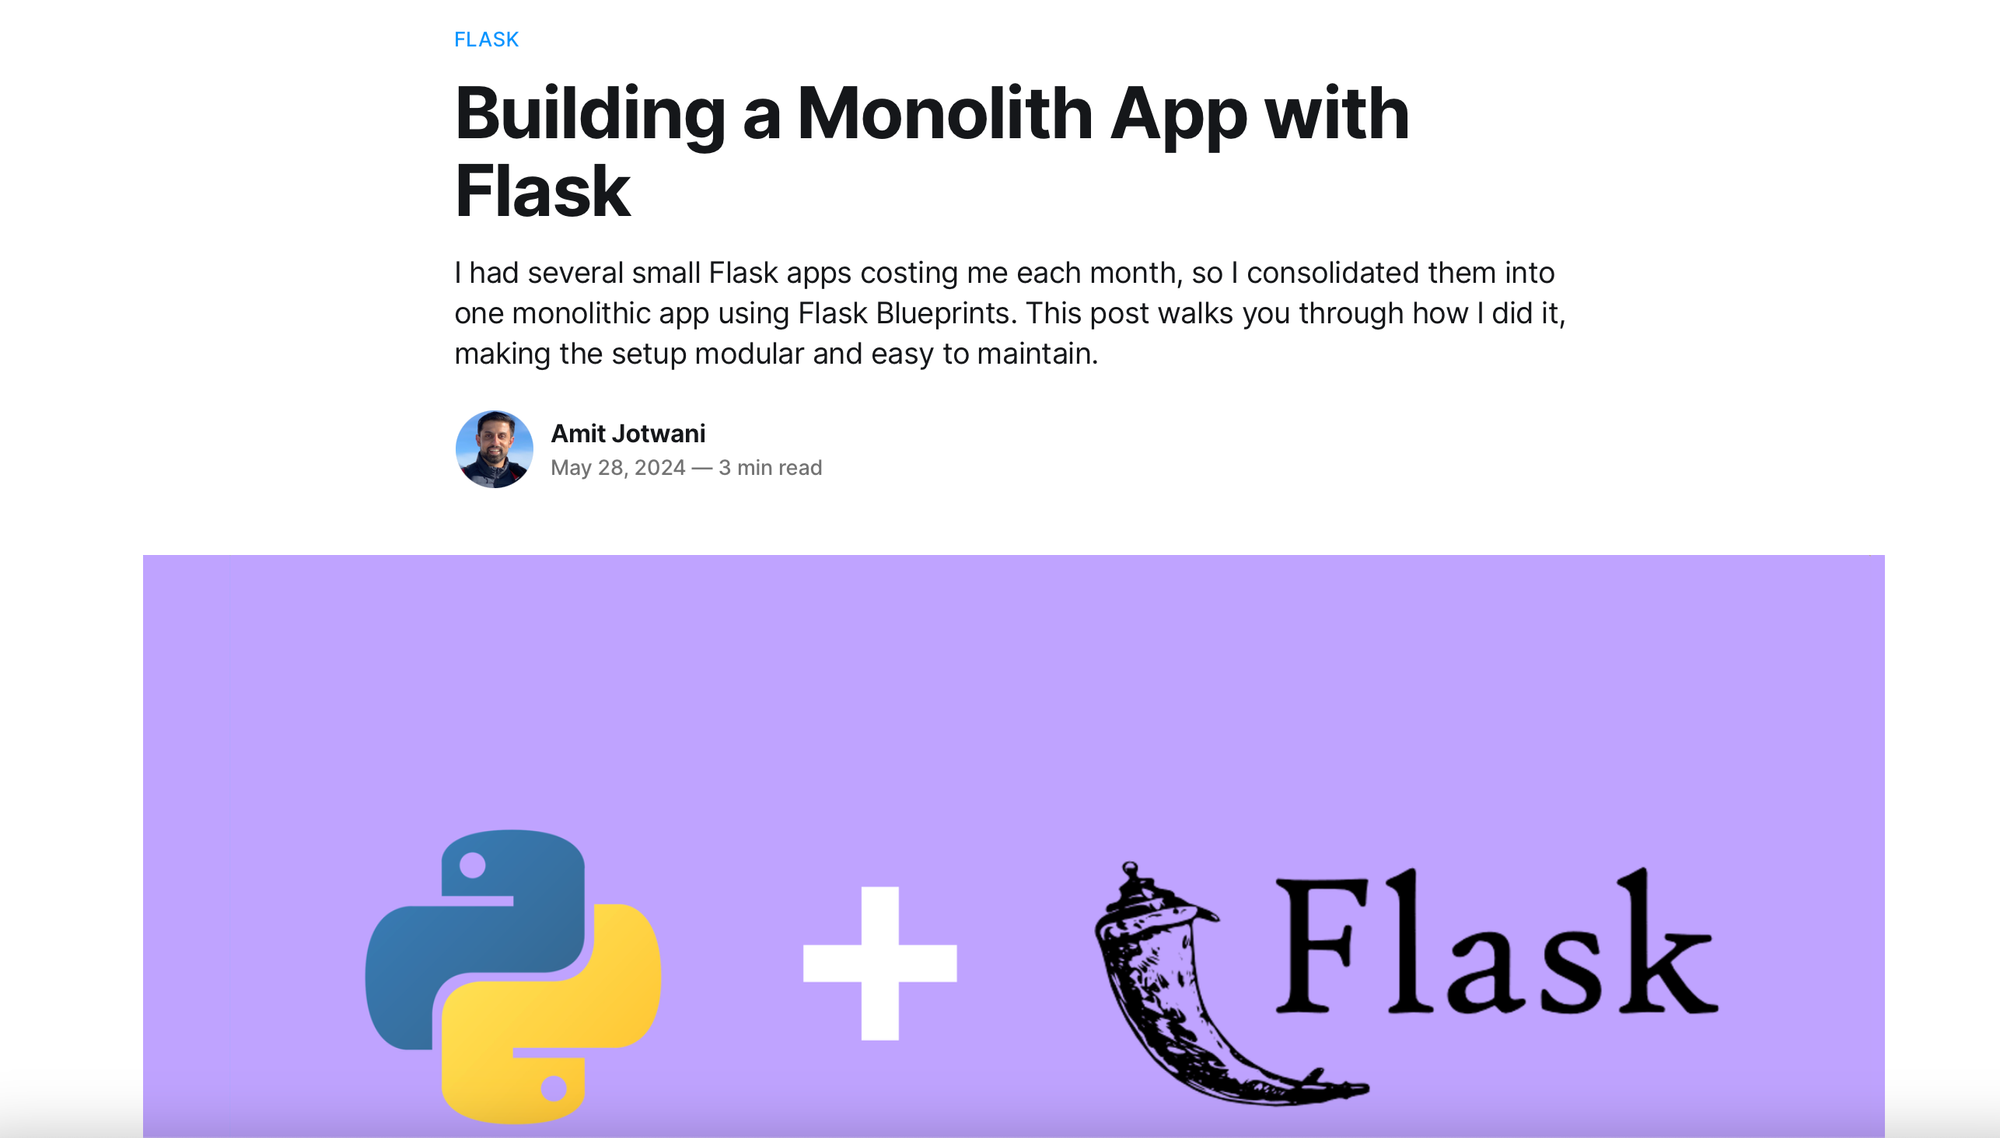
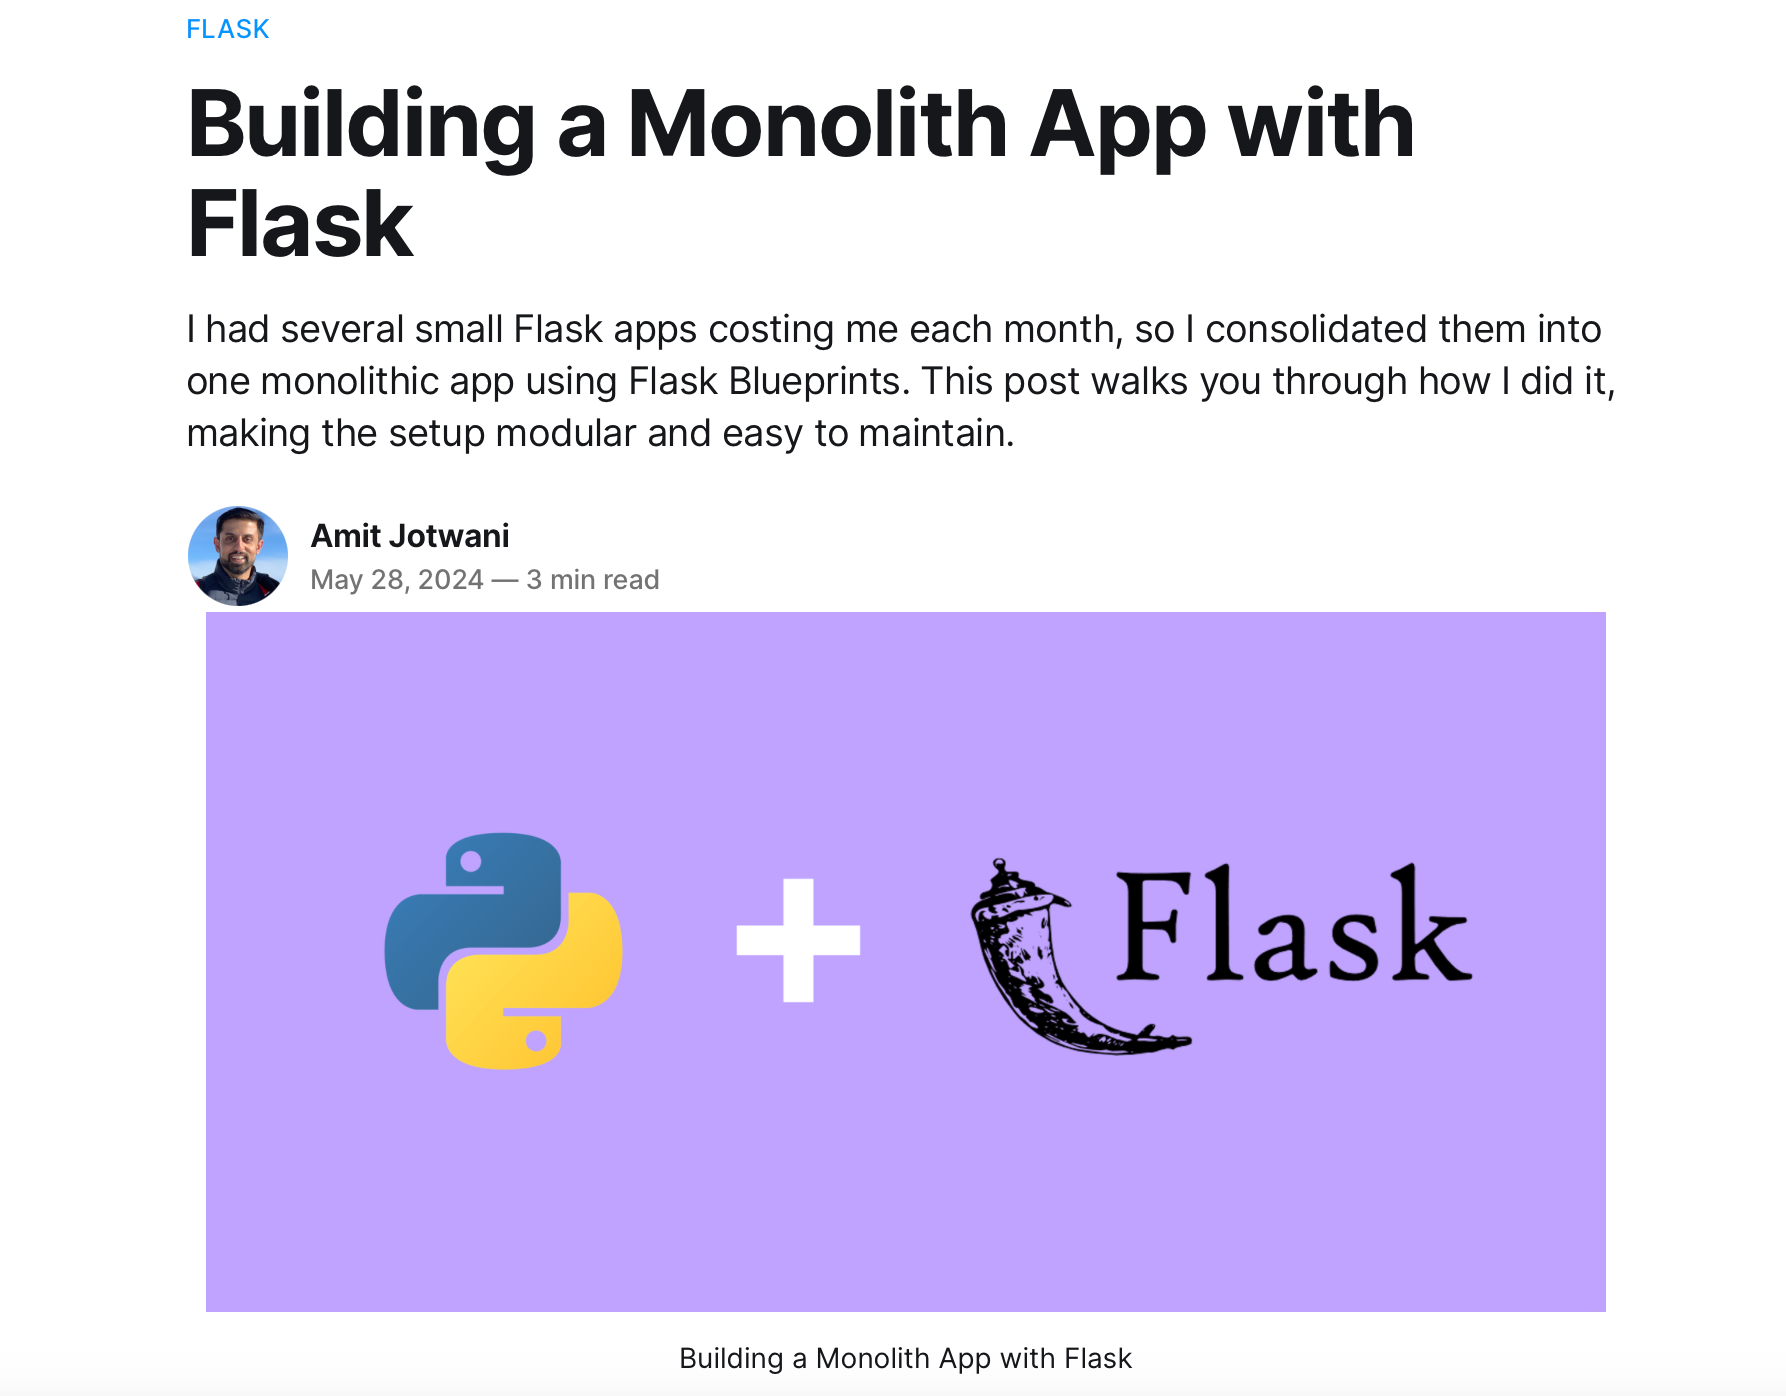
I was working on my Ghost blog and realized that the featured images for each post were just too large. After a bit of tinkering, I found a simple solution using CSS. h/t: Nick Turner's post on how to reduce feature image size within posts
Here's what I did:
- Navigate to Ghost Settings: First, I headed over to the Ghost admin panel and clicked on the "Settings" tab.
- Access the Design Section: Under Settings, I selected "Design" to get to the area where I could inject custom code.
- Code Injection - Site Header: Ghost allows for code injection, which means you can add custom CSS to style your site without altering the theme files directly. I chose to inject my custom CSS into the site header.
Here's the CSS code I used:
<style>
    .gh-article-image {
        max-width: 700px;
        margin: 0 auto !important;
        float: none !important;
    }
</style>
Explanation
.gh-article-image: This targets the class used for featured images in Ghost.max-width: 700px: Sets the maximum width of the image to 700 pixels. This makes sure the images are not too wide.margin: 0 auto !important: Centers the image by setting the left and right margins to auto. The!importantflag ensures that this rule overrides any other conflicting styles.float: none !important: Prevents the image from floating, ensuring it stays centered.
Result
After adding this code to the site header under code injection, the featured images on my posts resized perfectly. They now appear more balanced and centered, giving the blog a neat, organized appearance.
Feel free to try it out and see how it transforms your blog's appearance!


Before (left) and After (right)
Subscribe to our email newsletter and unlock access to members-only content and exclusive updates.

Comments